The 8 Steps On How A Worm Bin Works
Step 1
Drill air holes in the bin for good air circulation.
Lay a thick bedding layer of damp newspaper strips in the bottom of the bin.
This supplies air, water and food while providing the primary habitat for the worms.
Step 2
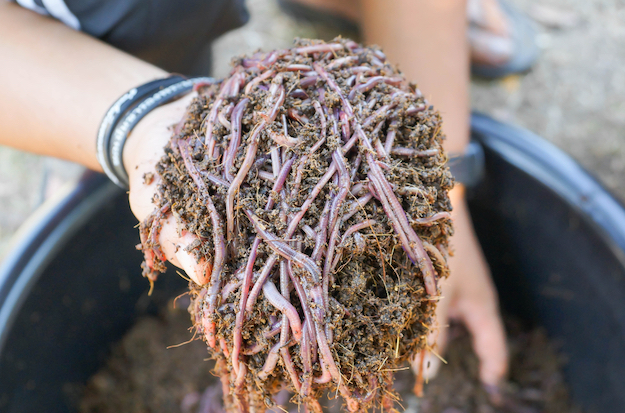
Weigh the worms to determine how much food to add each week.
Expert advice varies on how much to feed the worms.
Some recommend dividing the worm weight in half to find an appropriate amount as the red worms used in composting will eat about half their weight per week.
Others say triple the worm weight.
Mother Earth News recommends starting with a cup of scraps in a new bin and adjusting it as the bin becomes established and you get a better gauge for how fast your worms are consuming the food.
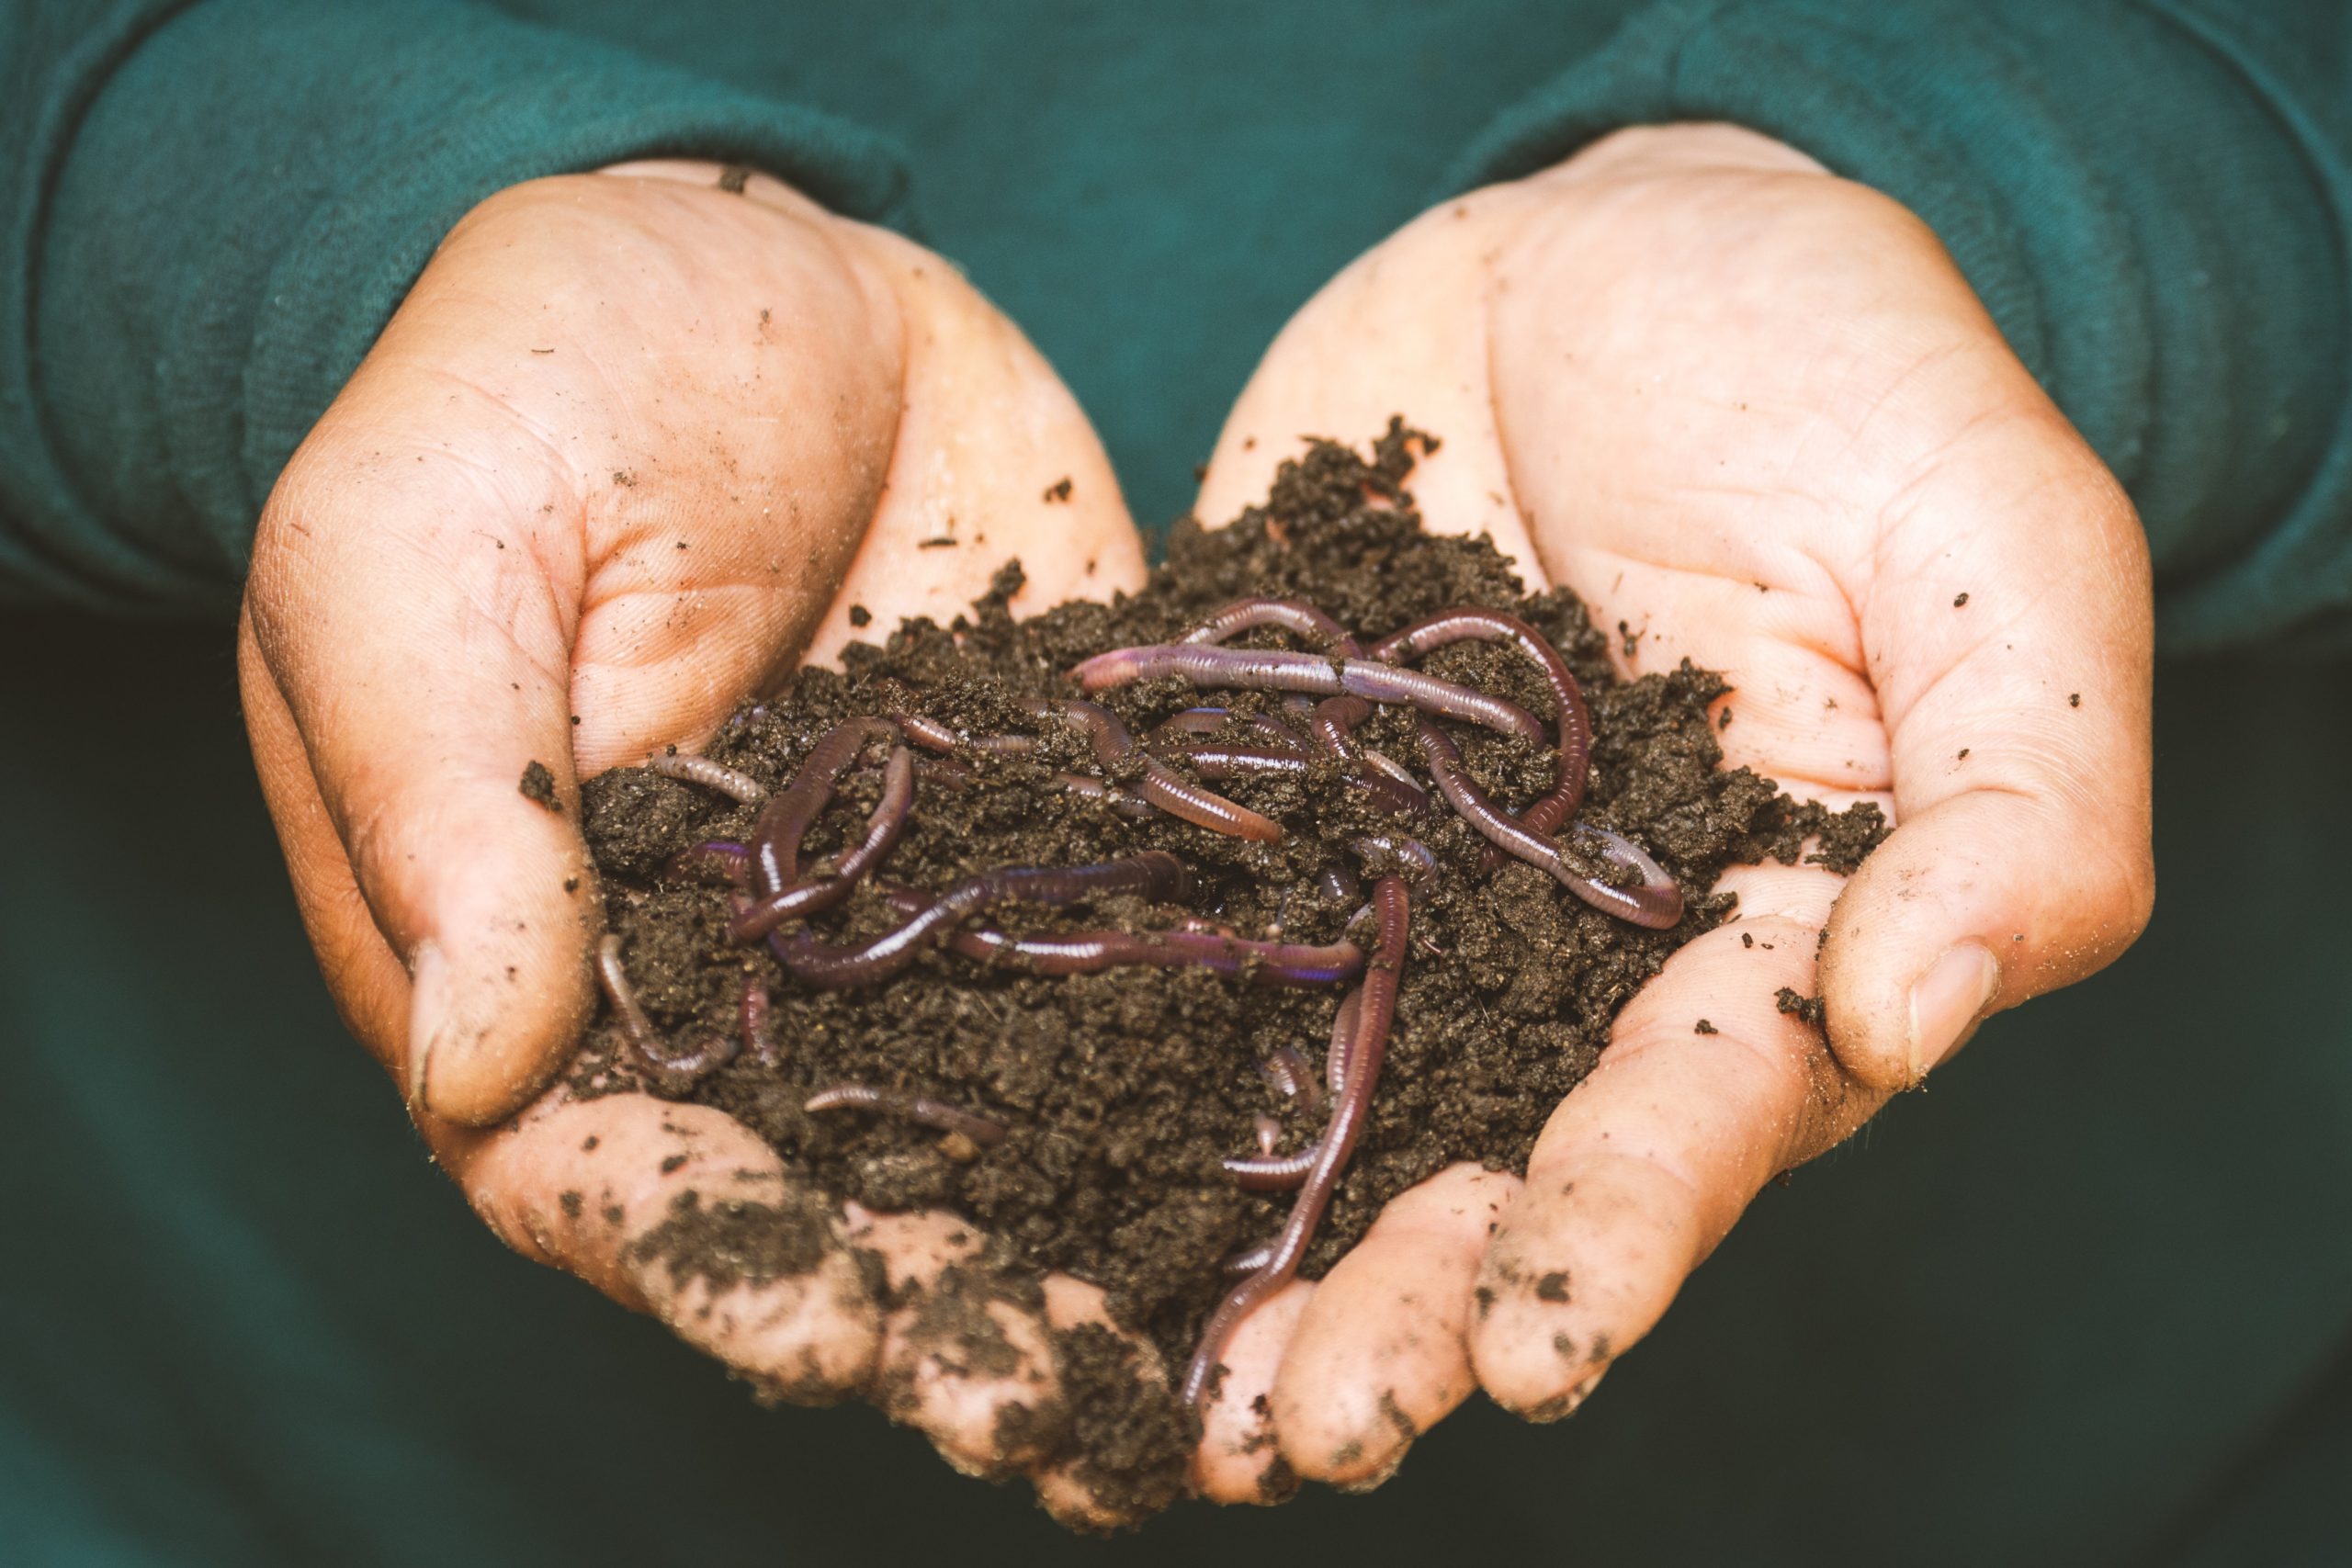
Place the worms on top of the newspaper bedding.
Step 3
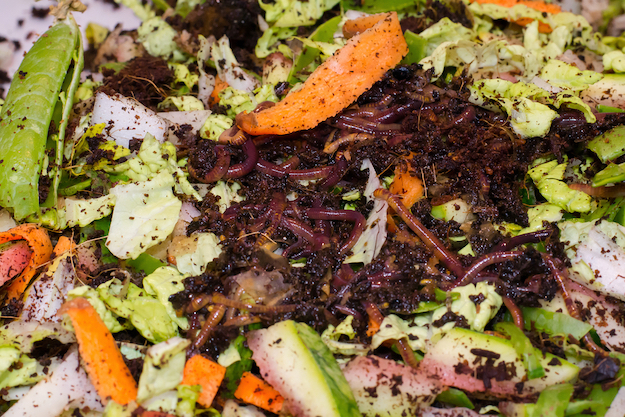
Bury food scraps in the bedding, lifting the bedding to insert the scraps and then covering it again, making each layer three to four inches deep.
Fruit and vegetable scraps, especially leafy greens are best.
Yard debris, grass clippings, coffee grounds and tea bags, egg shells, cardboard, sawdust, lint and ashes also make good worm food.
Avoid citrus, meats, bones, oil and grease, egg yolks and dairy leftovers, pesticides and pet droppings.
Add food when the worms have consumed the existing scraps, adjusting the feeding amounts until you find the proper balance of food volume that they will compost in one week so that you only have to feed them once a week.
Step 4
Cover the bin with a sheet of newspaper to help control moisture and prevent odor build up and fruit flies from compromising your worm compost.
Replace as often as necessary to repel the moisture build up and the attention of fruit flies.
Top with a loosely fitting plastic, wooden or cloth lid set ajar to encourage air flow.
Keep the bin in a warm, dark place indoors, away from heaters and windows.
The worms thrive best at temperatures between 50 and 75 degrees Fahrenheit.
Step 5
Feed the worms about once a week, continually checking the bedding for drying and spraying it with water as necessary to maintain the moist environment that the worms need to stay healthy and happy.
Fluff the bedding and turn the compost weekly to keep the air flowing.
Check the internal temperature of the pile regularly and mix it more frequently if it gets up to 140 degrees Fahrenheit.
Failure to turn the pile will slow down the decomposition process.
Step 6
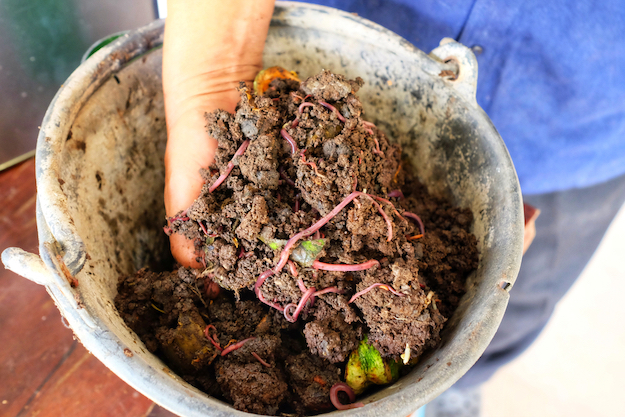
After a few months, when the bin is empty of food, place a tasty treat at one end of the bin in order to lure the worms to that side while you harvest the castings.
Placing a bright light over the bin will cause them to dive deep to get away from the light so you can harvest the top and sides while returning any stragglers to the main bin.
Step 7
Rebuild the layers to start the process all over again.
Step 8
Use the castings as a soil amendment or mulch in your garden or mix with potting soil in container grown plants.
Do you have your own worm farm? Or are you interested in starting your own worm farm? Check out how to start a worm farm business to learn everything you need to know related to worm farming.
References
Cornell Waste Management Institute: Six Easy Steps to Setting Up a Worm Bin
Mother Earth News: How to Make a Worm Bin
University of Florida IFAS Extension: Living Green: Composting
The Prairie Homestead: Feeding Compost Worms (What, When and How)
Related Content
Michigan State University College of Education: Worm Bin Project Unit
Gardening Know How: Vermicomposting Do’s And Don’ts: Care And Feeding Of Worms